Deliberate Warmup

Quiz: How often should you drill? 

  1. Once a week
  2. When my coach makes me
  3. When I feel like it
  4. Every day

If you answered D, you’re correct! Some days you might drill more and some days less, but each time you swim I encourage you to work on some aspect of your stroke.

If you swim with a team and have coached workouts, take it upon yourself to create a deliberate warm up. Warm up tends to be relaxed and is the perfect time to practice drills learned in a lesson or from this blog.

Let’s take a typical Masters warm up:

400 swim 

300 pull 

200 kick 

100 swim 

Here are some ideas on how to incorporate drills into this warm up without drastically changing what you are being asked to do (please be mindful of your lane mates if you choose to drill during warm up).

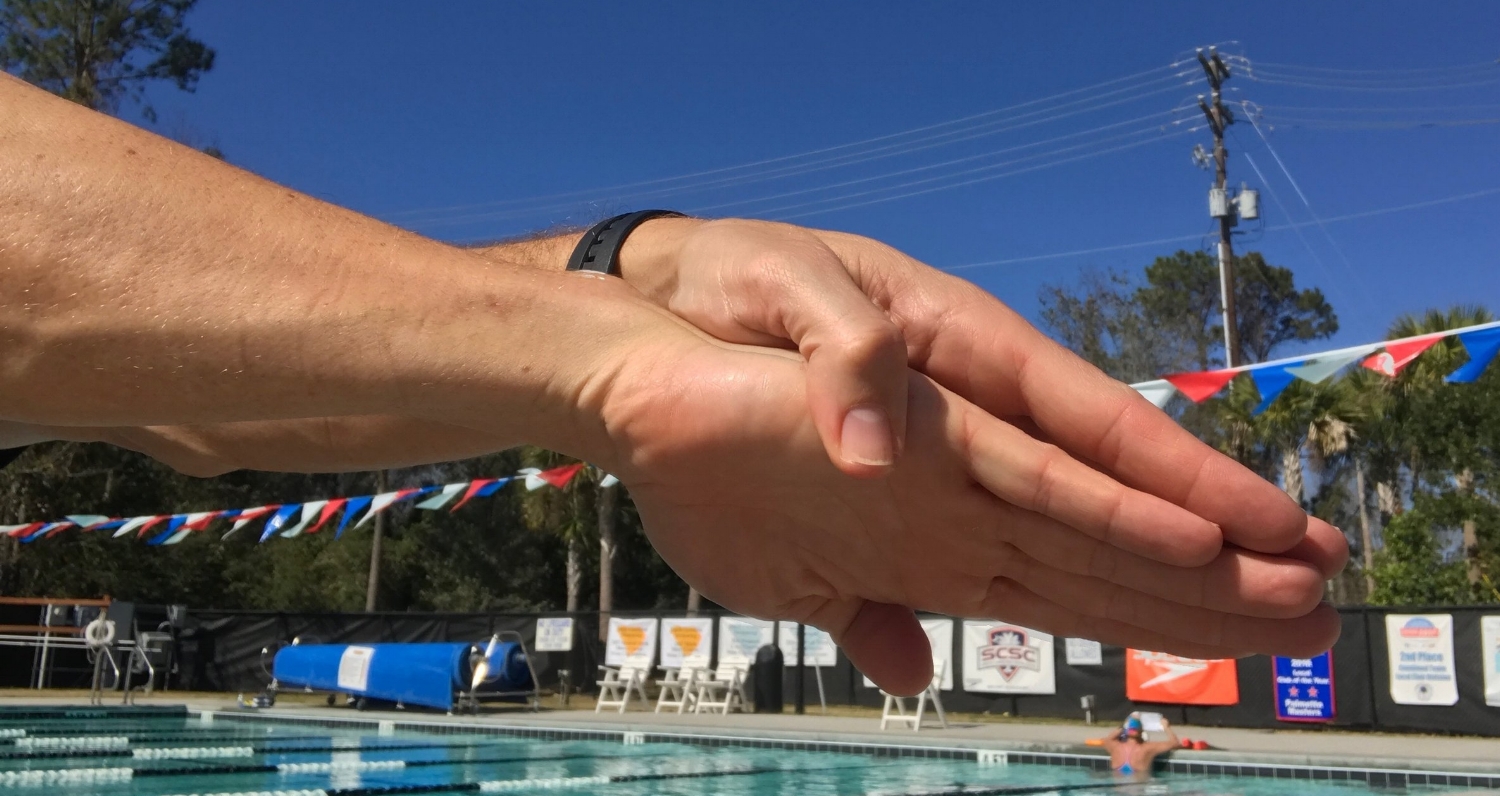
For the 400 swim, focus on exhalation and bilateral breathing.

Examples for the 400 swim (choose one):

  • Repeat the mantra bubble, bubble, breathe on the first length of each one hundred then focus on a constant exhalation for the remaining 75.
  • Every 4th length breathe to your non-favorite side.
  • 25 breathe left, 25 breathe right, 50 breathe every 3rd stroke. 

For the 300 pull maintain the same focus as the 400 or focus on your catch. 

Examples for the 300 pull:

  • Start each 100 with a 1/2 length scull followed by 3 1/2 lengths of pull.
  • 1/2 length scull, 1/2 length doggie paddle, 75 pull. 

The 200 kick will be dependent on the use of fins. 

Examples for the 200 kick:

  • With fins, do 50 kick on your left side, then 50 kick on the right OR try working on your rotation by utilizing the 6/1/6 drill (6 kicks, 1 stroke, 6 kicks).
  • No fins? No problem. Ditch the kick board and work on a stellar streamline off each wall with a smooth kick for the remainder of the length.

Take the last 100 swim to tie what you worked on together. 


2 beat, 6 beat, red beet, backbeat

Should you swim with a 2 beat or a 6 beat kick? Swimmers ask me regularly if they should swim with a 2 beat kick to conserve energy. To review, the kick beat is based on how many kicks you complete per stroke cycle. A stroke cycle is simply one right arm stroke followed by one left arm stroke. A 2 beat kick has 2 kicks per stroke cycle while the 6 beat has 6 kicks.

Although it may seem to be economical, it may not be right for you. It has been my experience that swimmers who naturally have a 6 beat kick are best advised to continue to kick this way and work on improving their kicking technique. 

Good kicking technique is driven from the hip, not the knee (image.1). The knee and ankles remain flexible and toes should point inward. At Swim Smooth we suggest lightly brushing the big toes against one another.

Image 2 - illustrates an excessive knee bend. This type of kicking not only creates more drag it requires a large amount of oxygen to fuel your quadriceps. This could be a contributing factor as to why you may feel so out of breath.

Good candidates for a 2 beat kick are swimmers who have a high stroke rate, a great catch, and very good rhythm. 

If you are unsure whether to use a 2 beat or 6 beat kick, ask me. Send me an email and I’ll be happy to respond!  

(red beet and backbeat are inspired by Dr. Seuss, backbeat is also a nod to Beatle fans everywhere!)


Stretch Much?

If you do, great. If you don’t, this post is for you. 

Today I am not going to bore you with why you should stretch, but rather give you one stretch to incorporate into your busy life that will dramatically improve your swimming, posture, and overall happiness. You’re welcome. 

I’m a big believer in specific cross training for swimmers. Running and biking, as related to this post are not considered cross training for over-used swim muscles. If you had any difficulty getting into a tight streamline as discussed in last weeks blog, you should consider adding some form of consistent stretching to your training program or workout schedule. 

When forming a new habit, it is important to not over do it in the beginning. Keep it simple. An approach I adhere to is making my new endeavor so easy I can’t say no to doing it. 

Here’s the challenge: 1 stretch for 1 minute for 2 weeks. You in? 

If I had to pick ONLY one stretch for swimmers I would pick this chest stretch. Daily life has us in a constant state of rounded shoulders and poor posture. Whether you are sitting at a computer, texting, or driving, rarely are you demonstrating good posture. Swimming freestyle will also add to this rounding of the shoulders. Let’s get started. 

Bend your elbow at a 90 degree angle and keep your head up in a neutral position. Slowly turn your body away from your arm to get a nice safe stretch in the chest. No need to over do it.  Hold for 30 seconds. Repeat on the other side. (60 seconds and you’re done!)

IMG_0450 copy.jpg

A stretch you should NEVER do is this straight arm version often seen in swim practices worldwide. This places your shoulder in a precarious position and should be avoided. 

IMG_0133 3 copy.jpg

Of course there are many stretches that are wonderful for swimmers, but today I am concerned with developing the habit of just one. And this one will make a major impact on your posture and shoulder flexibility.

3 Steps to a Stellar Streamline

Practicing a proper streamline will benefit all aspects of your swimming, including open water. The obvious goal of a good streamline is to reduce drag, but an added benefit is the opportunity to engage your core every time you push off the wall.  

Here are 3 steps to take your streamline from meh to marvelous:

1. Lengthen from finger tips to toes = core engagement

2. Place one hand on top of the other and apply the “Thumb Safety”

3. Place biceps behind ears

A good streamline starts with lengthening your body, finger tips to toes. Focus on feeling the lengthening and engagement of your core or midsection. While swimming, attempt to maintain this core engagement as it helps move your body in unison (image 1) as opposed to moving your upper and lower body separately (image 2).

What is the Thumb Safety? The Thumb Safety is a reminder to curl your thumb around your other hand while in the streamline position. This so important because as you fatigue, your hands will want to separate. Always applying the thumb safety will keep your hands together and your streamline strong!

Lastly, be sure to squeeze your biceps in to your head. If you have difficulty getting into his position it is an indication of shoulder tightness and stretching will help. In my next blog post I will discuss one of my favorite stretches for swimmers.  


Where I see many adult swimmers go wrong with streamline drills is trying to stay underwater too long. As you push off the wall, immediately get into a proper streamline, kick to the surface of the water and start swimming. Long underwater pullouts are great if they can be maintained yet this is typically not the case with master swimmers. Whether you do a flip turn or not, get into a proper streamline position every time you push off the wall. Your core will thank you!

Bilateral Breathing

Last week I discussed the importance of exhaling when your face is in the water. This week I will examine inhalation and bilateral breathing. 

Bilateral breathing is simply breathing to your left and right as you swim. Most people will have a favorite side and swim all their laps to one side. My preferred side is to the right. After swimming unilaterally for decades I decided to commit to bilateral breathing. Why? I wanted to develop my body and stroke symmetry. I noticed I could easily rotate my torso to my right but I was stiff to the left. And that my left shoulder would hurt more than my right after long bouts of training undoubtedly due to the stress of constantly breathing to the right. If you are experiencing shoulder pain bilateral breathing could help until you can get your stroke analyzed. 

Other benefits of bilateral breathing include swimming straighter, better view of competitors and drafting opportunities, and an option of breathing away from sun glare or chop.

Swimming to your non-dominant side at first will feel as awkward as brushing your teeth with your other hand, something I have been doing since the new year. But if you stick with it it will get easier and you will have a new weapon in your swim arsenal. 

Try this drill set the next time you’re at the pool.  

4x100 - 25 yrds breathe to right/ 25 yrds breathe to the left/ 50 breathe every 3 strokes focusing on exhalation (bubble, bubble, breathe from last weeks blog). 

If breathing every 3 strokes turns into a struggle, try swimming breathing 3/2/3/2. 

Drills are meant to be swum at a speed that is comfortable to perform the drill properly, so slow down if need be and get it right!

The Most Important Swim Blog of 2017

A vital skill to master when trying to improve swim performance is proper breathing technique. How and when you breathe is a skill that should be taught and developed at all levels. While swimming, are you aware of when you are actively exhaling? Most swimmers, even my best, are not. 

If you struggle with bilateral breathing, it is a strong indicator that you are not exhaling properly. Proper respiration when swimming should be no different than when jogging - inhale and exhale in a continuous flow. To do so, you must blow bubbles (exhale) when your face is in the water. That way, when you roll your head to breathe your exhale is complete and your inhale will be quick and efficient. 

The benefits of exhaling into the water include being more relaxed, better body position, and reduced carbon dioxide build up in your system.

I have two recommendations for focusing on exhalation. The first is simply humming. Humming requires exhalation and can really help you stay focused. The second is from my training as a Swim Smooth certified coach, called Bubble, Bubble, Breathe. The drill has you actually say the word bubble underwater to activate exhalation. Push off the wall and as your hand enters the water on the first stroke say bubble, on the second stroke say bubble again, and on the third simply inhale (no need to say breathe). After trying this for a couple of 25’s, try swimming with continuous exhalation in a relaxed manner. If you catch yourself holding on to your breath simply go back to the mantra Bubble, Bubble, Breathe. A bonus to this drill is that you are bilateral breathing, which is so important to your stroke symmetry.  

You may not be able to transform yourself into an elite swimmer overnight, but you can breathe like one.

Gear guide: my favorite paddles

One of the most common questions I am asked when it comes to gear is which paddles should I buy? My general rule is they shouldn't be much bigger than your hands. This goes against what I often see at Masters swim practices, where many swimmers strap on paddles the size of mini garbage can lids! Realize that large paddles increase the surface area of the hand, thus increasing the pressure placed on the shoulders. It is a recipe for injury. 

Two paddles that I use and recommend are the Freestyler Paddle and the Agility Paddle. Both paddles are made by Finis and designed to give the swimmer instant technical feedback. 


Finis Freestyler Paddle 

Finis Freestyler Paddle 

The Freestyler paddle has a one finger strap and a skeg under the paddle. The paddle is designed to assist in proper alignment upon entry. 

Finis Agility Paddle 

Finis Agility Paddle 

If a swimmer's hand enters the water with a thumb first entry or has excessive lateral movement the paddle with twist sending instant information to the swimmer that her hand is not in the right position. 


The Agility paddle has a hole for your thumb and no strap. The award winning design gives the swimmer a slightly unstable feel and can be used for all four swim strokes. 

It is especially useful for swimmers who drops their elbow before their catch. 

Give these paddles a try. If you struggle with your new equipment, , it’s a sign that your technique needs some work. Consistently use these paddles and you’ll be swimming faster in no time!

The Art Of Sculling

The Art of Sculling  

An important drill for me is sculling [a stroke in which you move your arms back and forth in small figure eights]. It really helps me maintain my feel for the water.” - Michael Phelps, Mens Fitness

What is ‘feel for the water’ and why is this drill so important to freestyle? Feel for the water is simply the connection of your hands and forearms with the water in an effort to provide propulsion. 

Scull drill focuses on a constant light pressure on the palms and forearms and is the same pressure you want to feel at the beginning of your catch.

When performing the drill many swimmers keep their arms straight out in front of them, close to the surface of the water. Attempting to scull in this position will cause the swimmer to struggle to make forward progress and likely result in a pulling motion resembling breaststroke. 

Proper sculling technique has the arm angled toward the bottom of the pool (similar to the freestyle arm entry) with the fingers below wrist and wrist below elbow. The swimmer maintains a constant lightpressure on the hands and forearms with their palms facing back.

Perform this drill often and you will develop greater awareness of the position of your hands and forearms which will enhance your feel for the water. Check out my video below demonstrating a proper scull set-up. 

Goal Setting

A goal without a plan is just a wishAntoine de Saint-Exupéry

GettyImages-587155264-web_104441.jpg

This summer, I attended a 5-day workshop with Jack Canfield (author, motivational speaker) where I learned to hone my goal-setting skills. I learned the most important aspect of goal development is being as specific as possible. You can do this by asking how much and by when? 

Some athletes may have a goal to swim faster or lose weight. Both are great aspirations but they can be more specific. For instance, say you currently swim a 1:35 for a 100 free. You can make the goal more precise by saying, I will swim a 1:33 for the 100 free. Now let’s add the second part, by when. I will swim a 1:33 for the 100 free by April 1, 2017.  It’s now stated in a way that anyone can determine if you have accomplished your goal. Come April 1, you will either swim a 1:33 for the 100 free or you will not. 

Once you have created your goals, write them down and share them. Tell your coach, friends and lane mates. Support and encouragement can come from many areas so be sure to share your objectives with others. I love it when athletes share their goals with me. When they do I am instantly invested in seeing them succeed. 


Welcome to the Modern Swimming Blog

mod·ern - ˈmädərn/ adj.
1. of or relating to the present or recent times as opposed to the remote past

Photo:  Ederle record break 2011

Hi, I’m Lance Ogren. I am a swimmer and coach.

I have swum competitively nearly my entire life and swam Division I at St. Johns University. After a brief hiatus from competing, I returned to the sport in 2007 as an open water swimmer. Since then I completed the Triple Crown of Open Water Swimming which consists of the English Channel, Manhattan Island Marathon Swim and the Catalina Channel. I am the current world record holder for the 17.5 mile Ederle Marathon swim (2011) and have competed in many other open water swims along the way.

When I returned to swimming in 2007 I started researching stroke technique to see what had changed since my college days. Information was abound now that I was equipped with the internet (not available in 1992).  I soon discovered that the internet could be too much of a good thing with lots of conflicting, confusing information. I also found that many of the same stroke techniques I learned as an age group swimmer were still being taught, such as the S shaped catch and pull, thumb first entry, catch up timing and gliding for “efficiency” even though better stroke technique methods had replaced these long ago.

My quest for quality stroke technique led me to Swim Smooth. After years of study and application I took a two week trip to Perth, Australia to become the first Swim Smooth Certified Coach in the United States. I have been privileged to learn the most effective swimming techniques by standing next to some of the best coaches in the world.

Last year I decided to start this blog to create another resource for adult swimmers and coaches to learn about truly efficient freestyle swimming, along with other swim related topics such as dry land training, gear, and nutrition. 

My intention for this blog is to get athletes engaged in thinking, not just doing. I hope to approach confusing topics with simplicity and clarity. Swimming is not rocket science and often it is made more complicated than necessary. I hope to gain your trust by providing straightforward information based on years of experience, personal trial and error, and a passion for continued education about human movement both in and out of the water.

I hope you join me.

Lance

 
76_multicolor.png